
🦠 CDC Hygiene Guidelines
📅 Updated for 2026
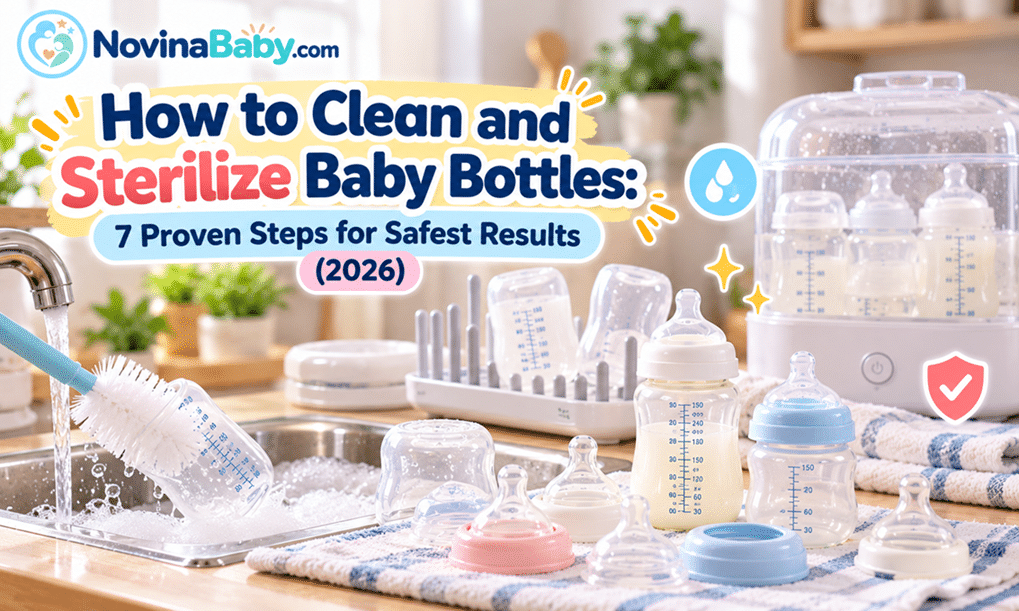
How to Clean and Sterilize Baby Bottles – Staring at a sink completely full of crusty, milky bottles at 2:00 AM is every new parent’s nightmare.
When you are severely sleep-deprived, it is incredibly tempting to just rinse them with hot water and hope for the best.
However, an infant’s immune system is not fully developed, making them highly vulnerable to bacteria and mold that thrive in leftover milk residue.
Understanding exactly how to clean and sterilize baby bottles properly is one of the most critical skills you must master in the first few weeks of parenthood.
If you assemble a bottle while it is still slightly damp, dangerous black mold can quickly grow inside the hidden anti-colic vents.
Let’s break down the ultimate daily routine on how to clean and sterilize baby bottles so you can protect your baby’s health without losing your mind.
The Daily Wash: 4 Steps to Remove Stubborn Milk Fat
Washing and sterilizing are two completely different processes.
You cannot sterilize a bottle that is still dirty, because heat will simply bake the milk fat into the plastic or silicone.
Follow these four proven steps for the daily wash routine:
1. Disassemble Everything Completely
Never wash a bottle with the nipple still attached to the plastic collar.
You must take apart every single piece, including the silicone valves, venting straws, and sealing discs, to ensure milk doesn’t get trapped in the threads.
2. Use a Dedicated Wash Basin
The CDC strongly warns against washing baby items directly in the kitchen sink.
Kitchen sinks harbor dangerous bacteria from raw meat and unwashed vegetables. Always use a dedicated plastic wash basin exclusively for your baby’s feeding gear.
3. Soak in Hot, Soapy Water
Fill your dedicated basin with hot water and a few pumps of fragrance-free, baby-safe dish soap.
Let the bottles and parts soak for 5 to 10 minutes to effectively loosen the stubborn milk proteins and fat.
4. Scrub with Dedicated Brushes
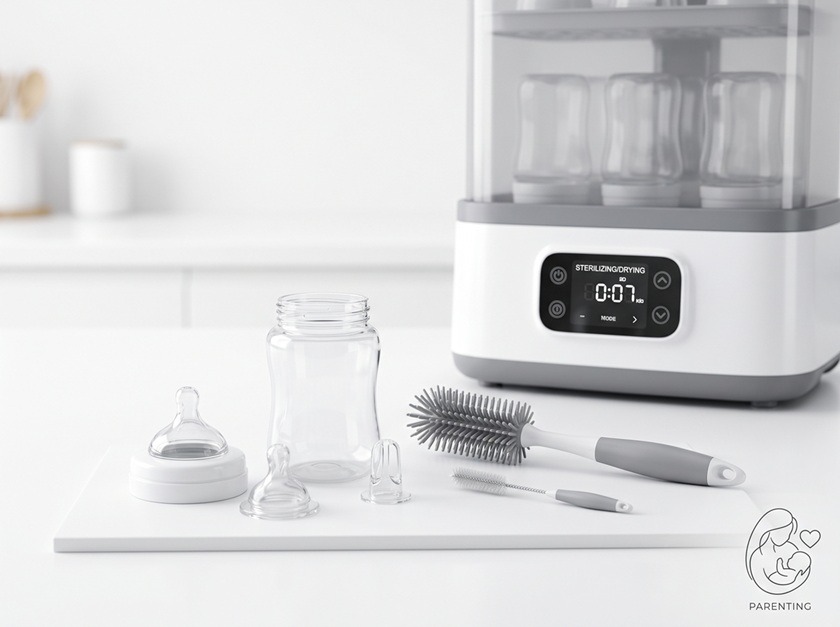
Use a specific baby bottle brush for the main bottle body.
More importantly, use a tiny nipple brush to aggressively scrub the inside of the silicone nipple and the tiny holes of the anti-colic vent where bacteria love to hide.
How to Clean and Sterilize Baby Bottles: Choosing Your Method
Once the bottles are thoroughly washed and rinsed, it is time to kill the remaining microscopic bacteria.
For babies under three months old, daily sterilization is a non-negotiable medical recommendation.
Here is a breakdown of the most popular sterilization methods used by modern parents:
Boiling (The Traditional Method)
Place all disassembled, clean bottle parts in a large pot and cover them completely with water.
Bring the water to a rolling boil and let the parts boil for exactly 5 minutes, then remove them with clean tongs.
Microwave Steam Bags
These specialized bags are incredible for traveling parents.
Simply place the clean parts inside the bag with a few ounces of water, and microwave for 90 seconds to create sanitizing steam.
Electric Steam vs. UV Sterilizers
If you want ultimate convenience, electric sterilizers are worth the investment.
The Most Crucial Step: Preventing Dangerous Mold
Learning how to clean and sterilize baby bottles is completely useless if you fail at the final drying stage.
Bacteria and mold thrive in dark, damp environments.
Never, under any circumstances, use a standard kitchen dish towel to dry your baby’s bottles, as towels carry microscopic lint and bacteria.
Instead, you must let all parts air-dry completely on a dedicated baby bottle drying rack in a well-ventilated area.
Do not reassemble the bottles and put them away in your cupboard until every single droplet of moisture has evaporated.
Frequently Asked Questions (FAQ)
How often do I really need to sterilize baby bottles?
For healthy babies over 3 months old, daily sterilization is not strictly necessary as long as you wash them thoroughly with hot, soapy water. However, you must sterilize new bottles before their very first use.
Can I wash baby bottles in the dishwasher?
Yes, if the bottle manufacturer says they are dishwasher safe. Place all small parts in a closed mesh basket on the top rack, and use a heated drying cycle with a sanitizing wash setting.
Why do my silicone bottles smell like old soap?
Silicone is highly porous and will absorb the fragrance from heavily scented dish soaps. Always use an unscented, plant-based dish soap specifically formulated for baby gear to prevent foul odors.
Ready to Upgrade Your Feeding Gear?
Now that you are an absolute expert on how to clean and sterilize baby bottles, it is time to choose a vessel that is inherently easy to wash. We’ve rigorously evaluated the top brands for wide-neck designs, minimal parts, and anti-colic safety.